Equipment Rental
This FAQ will go over how to set up rental items and how to rent equipment. This feature is included in the Maintenance Tracking Add-on.
Adding Equipment & Rental Items
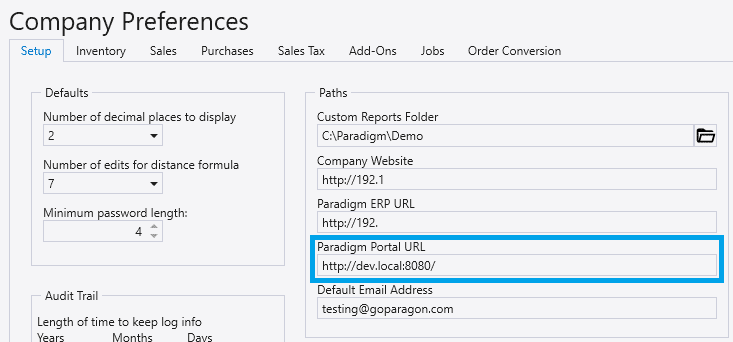
To configure a product as a rental, go to the Paradigm portal URL and login with a Paradigm user. This URL can be found in System > Company Preferences > Setup > Paths.
Add Equipment
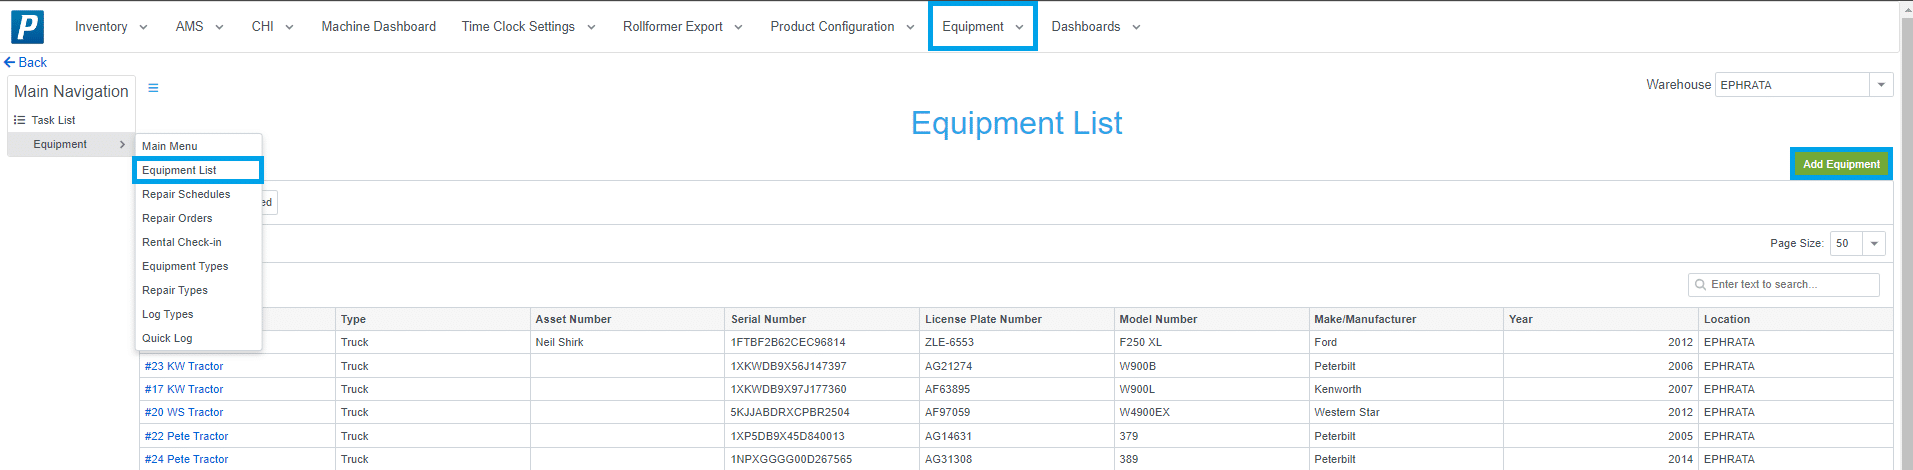
To add equipment, go to Equipment > Equipment List > Add Equipment List
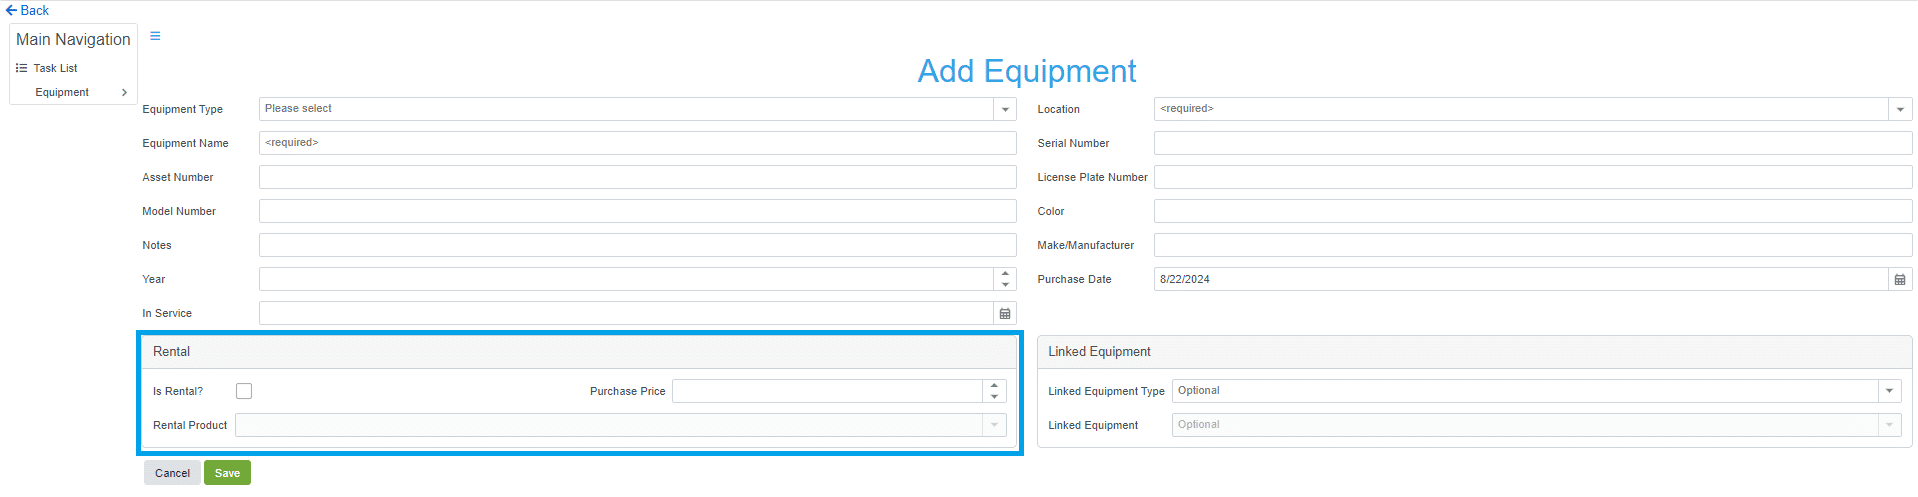
Check the “Is Rental” box, select a rental product ID, and enter any other needed information for the equipment being added. For a product to show in the “Rental Product” dropdown, it will need to be entered in Paradigm as a nonstock item.
After selecting the rental box, two fields will open.

The “Equipment Check in Questions” will show when the piece of equipment is checked back into inventory. The “Equipment Accessories” field will suggest the specified accessories that the customer may buy along with the piece of equipment they are renting. Accessories can be marked as “Require Input” which will force the salesperson to choose “Yes” or “No” on that accessory when adding the rental to an order.
Paradigm Item Rental Calendar
Once an item in Paradigm is linked to a piece of equipment to be rented, the “Rentals” button will be shown on the item. This will display the rental calendar for the item.
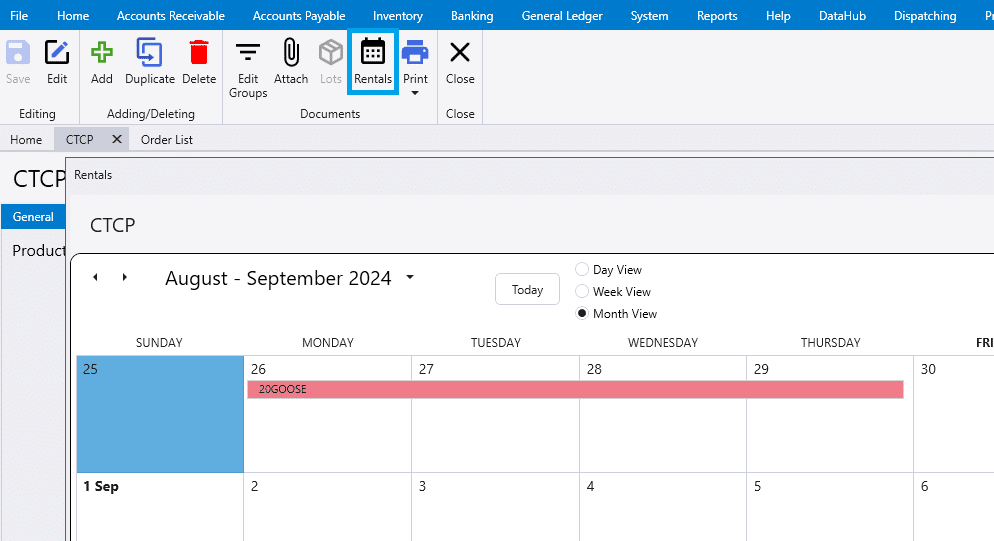
This calendar can also be found by going to Inventory > Rental Calendar

Rent Equipment
To rent equipment in Paradigm, select “Rent Equipment” from the order header. This can also be done by entering the rental product in the order.
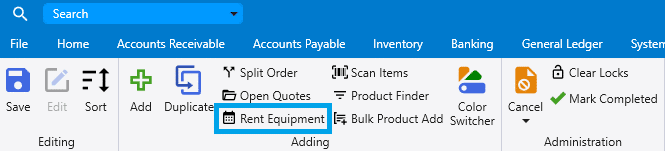
Rental Calendar
The rental calendar is used to select the day(s) the equipment will be rented out and will show if the equipment is available for the given date(s). Right clicking on a day in the calendar will automatically reserve an entire day for the product to be rented. Drag then right click to reserve multiple days.
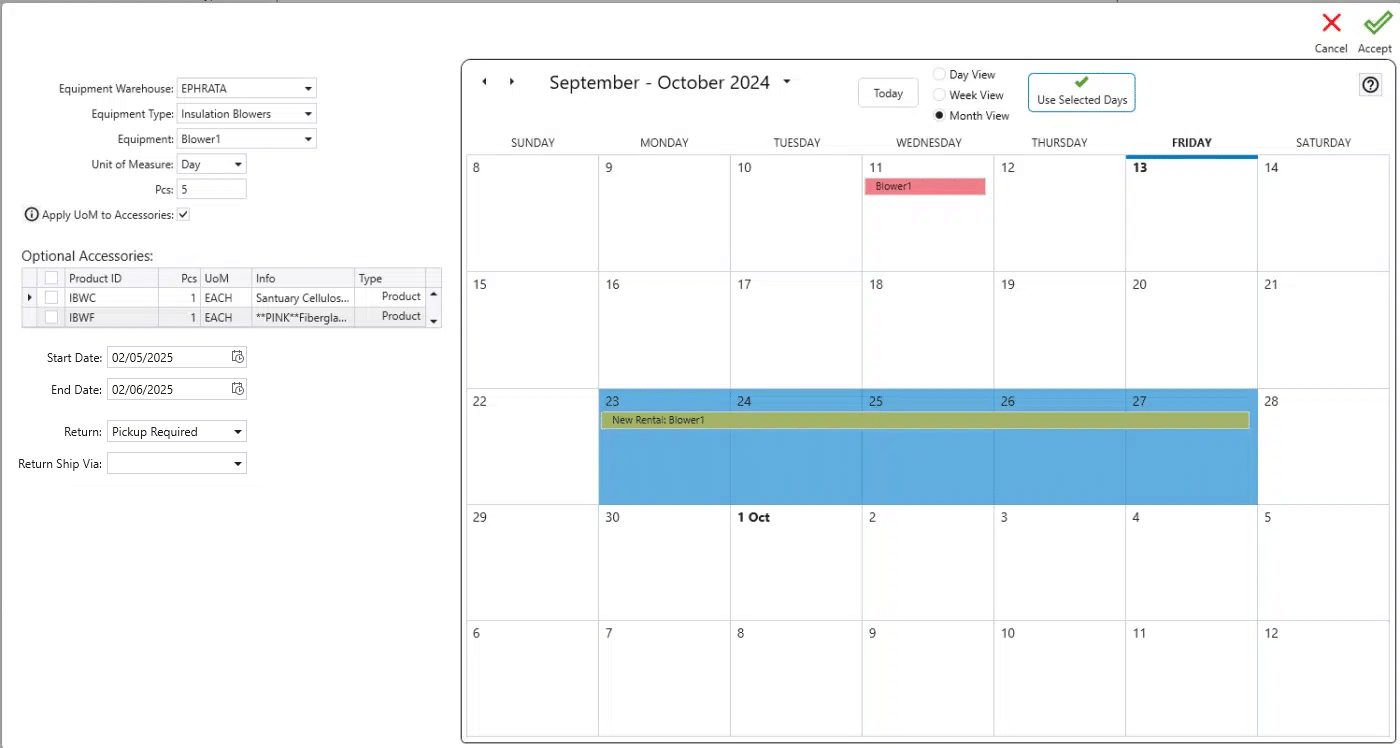
Click the question mark box at the top of the calendar for the color key.
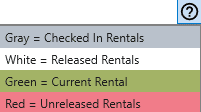
Rental Calendar Detail
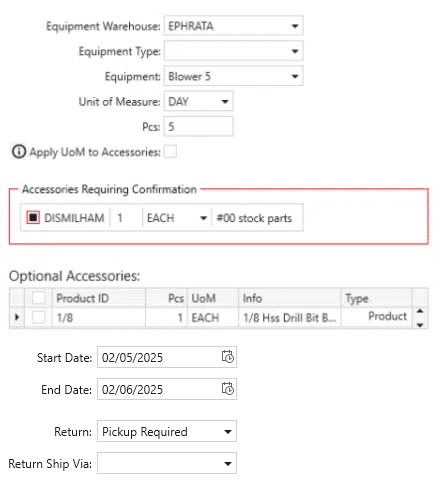
- Equipment Warehouse – The warehouse that the equipment is located at.
- Equipment Type – The equipment type.
- Equipment – The name of the selected equipment.
- Unit of Measure – The rate at which the customer will be charged (hour/day)
- Pcs – The quantity of the unit of measure selected. In the example screenshot, it would be 5 days.
- Apply UoM to Accessories – If selected, when the UoM changes, it also changes all the Accessories that have the same UoM available.
- Accessories Requiring Confirmation – This will be displayed if accessories require confirmation as to whether or not it is going to be added on.
- Optional Accessories – A list of optional accessories for the equipment rental.
- Start Date – Rental Start Date
- End Date – Rental End Date
- Return – Choose “Customer will Return” or “Pickup Required”
- If “Pickup Required” is selected, an outside delivery will be created in dispatching to pick up the equipment.
- Return Ship Via – The ship via for the outside delivery.
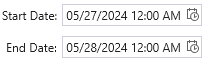
If the customer wants to reserve the equipment by the hour, select the time in the Start Date/End Date.
Down For Repairs
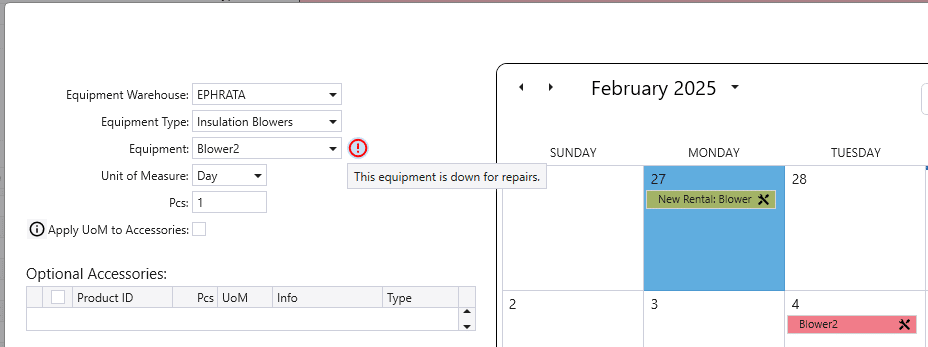
If a piece of equipment is marked as “Down For Repairs” it will show the exclamation point, and a tool icon on the rental.
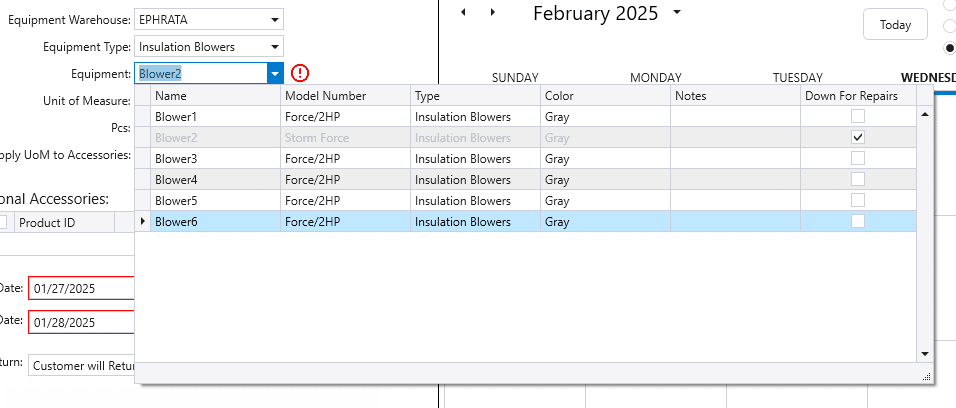
It will also be greyed out in the drop down and marked as Down For Repairs.
Marking Equipment As Down For Repairs
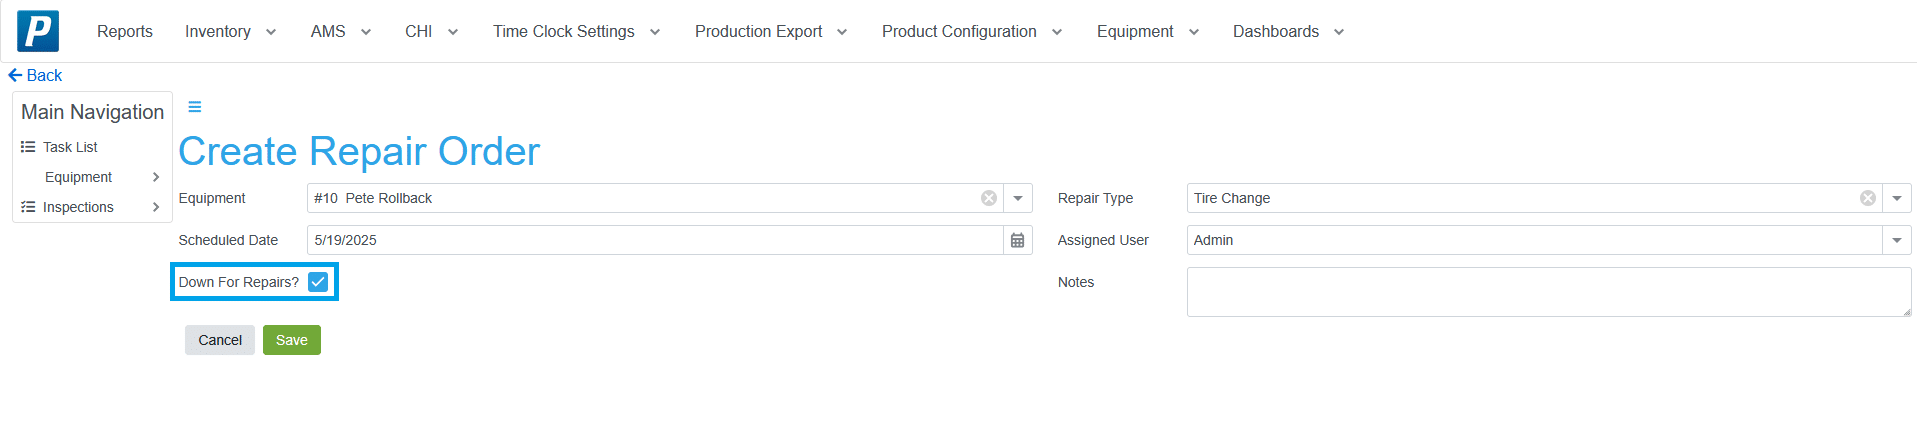
Equipment is shown as down for repairs if there are any uncompleted repair orders with “Down For Repairs?” checked.
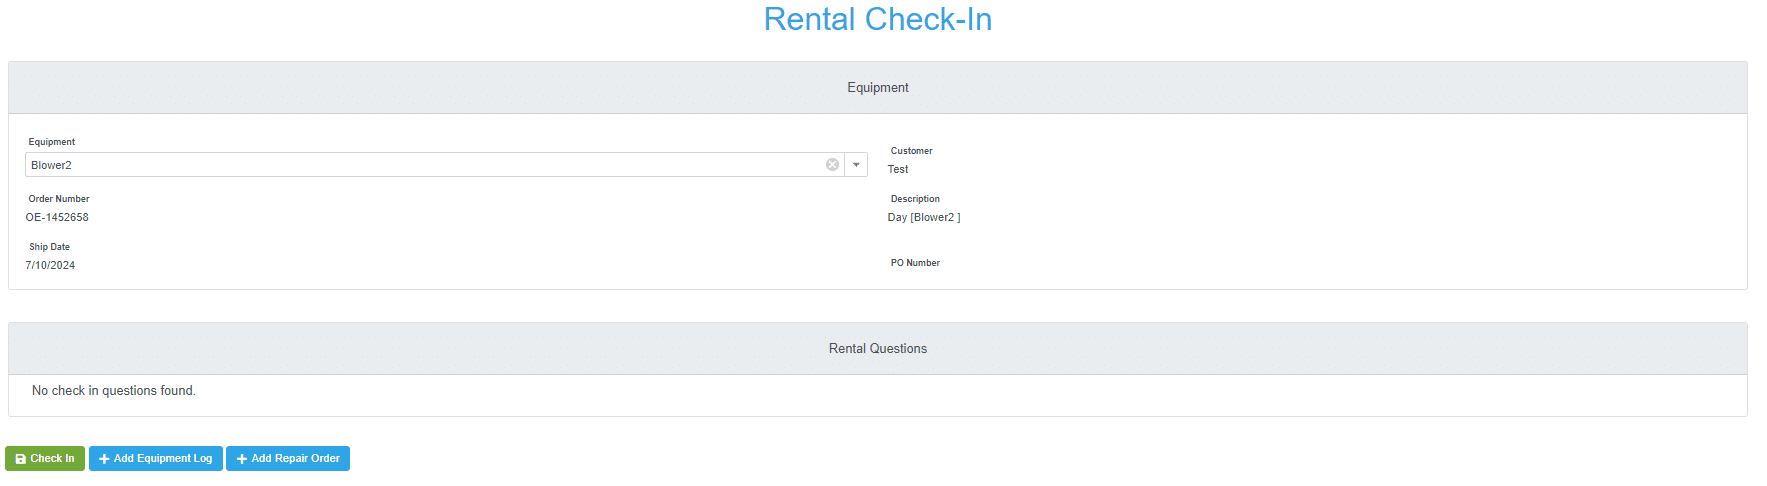
Rental Check-In
When the rental is finished, a rental check in process must be done at: Equipment > Rental Check-in
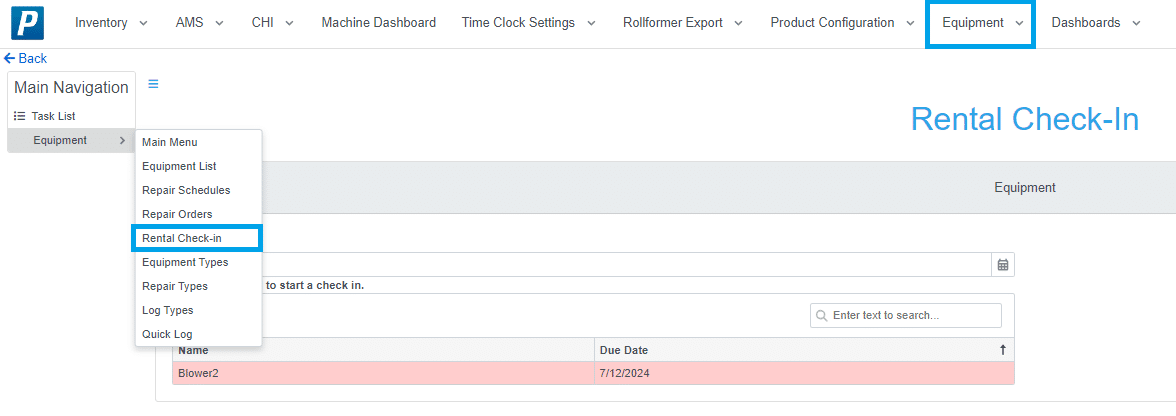
Click on the piece of equipment to check in and answer any rental questions, add equipment logs, and repair orders as needed. Once all fields have been filled out, click the green “Check In” box.