Receipt Capture
This FAQ will go over how to use the receipt capture screen. Receipt captures are mainly created using the Paradigm Mobile app, but they can also be entered into Paradigm as well and do not require an image to be attached. More information on the app can be found here: Paradigm Mobile
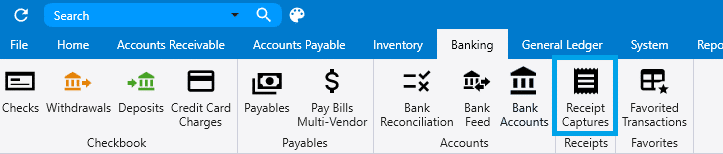
Receipt capture can be found by going to Banking > Receipt Captures
Creating a Receipt Capture In Paradigm
To create a receipt capture, click on the green plus button and add an image of the receipt. Dragging and dropping one or more attachments onto the list view will create a a capture for each image. Pressing Ctrl + V while an image or file is on the clipboard creates an attachment or a capture, depending on the file type. Attaching a Word or Excel file will attach it and create a PDF to show it. The first Word or Excel attachment from imported Outlook message (msg files) is converted to PDF and saved as primary receipt attachment.
When images and documents are attached, Paradigm will use OCR (Optical Character Recognition) to attempt to set the Date, Vendor, Amount and Ref No fields. If a receipt entry is sent in from the mobile app, it will attempt to OCR it when it is double clicked in the Receipt Capture List. The same attributes that are used in the credit card import can be used to set vendor names. See the end of the FAQ for more information about advanced OCR functionality.
Then fill out the fields at the top with the information from the receipt. Most of the fields here are optional. Credit card charges need at vendor or payee and a withdrawal or bill needs a vendor ID entered.
Uploading Receipts via Conversations
Receipt captures can be created from attachments sent in conversations. Right-clicking the attachment gives the option to create a receipt capture using that attachment.

The conversation that the receipt was attached from will also be linked to the receipt capture in the conversations side-bar.
Creating Transactions for Receipt Captures
To quickly create transactions for receipt captures, click the open all button [1] or select the receipt captures, right click and click “Open”.

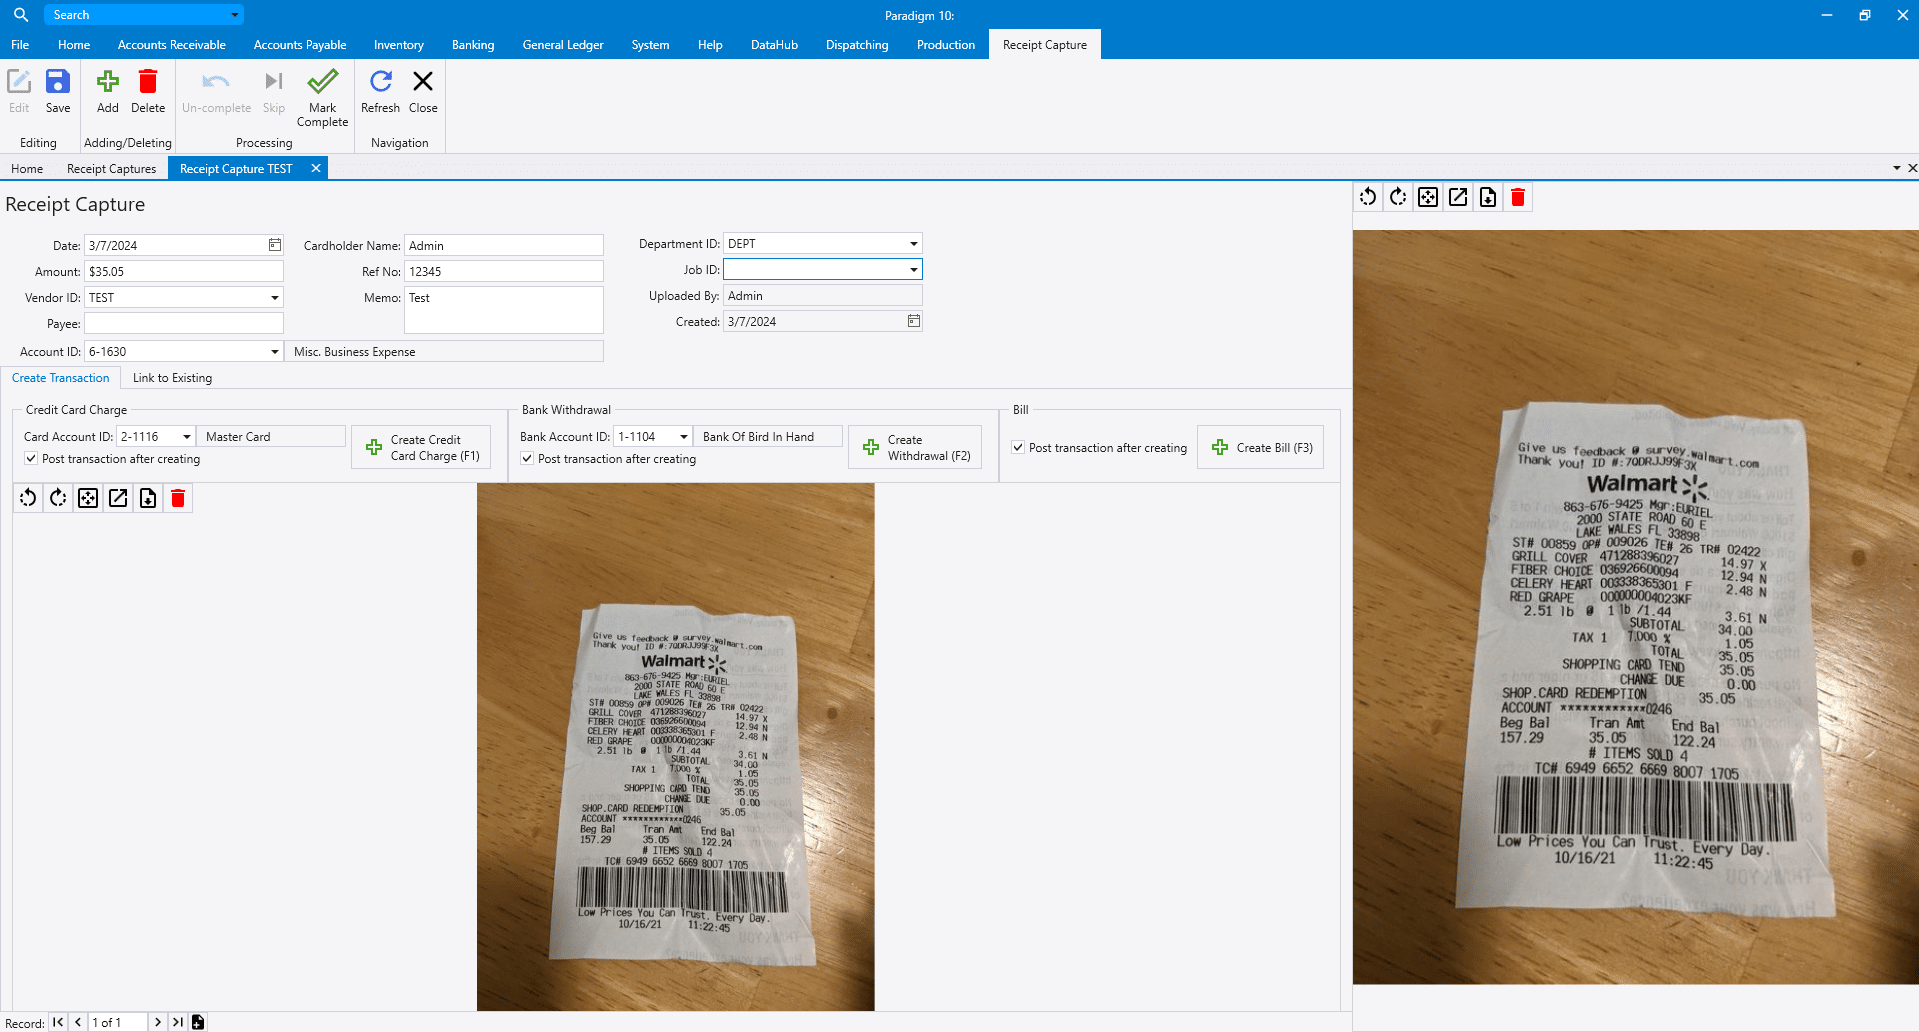
Then enter the required information for it and choose to whether to create a Credit Card Charge [F1], Withdrawal [F2], Bill [F3], or to mark it as complete. If the receipt is not to marked as complete or have a transaction created for it, click the “Skip” button [F6] to go to the next one.
If a transaction is created and the box “Post transaction after creating” is selected, the transaction that was created is not opened. If that box is not selected, the created transaction will be opened after it is generated.
Once the receipt is marked as complete or a transaction is created for it, the next open receipt capture will be shown in the order of oldest to newest.
Link To Existing
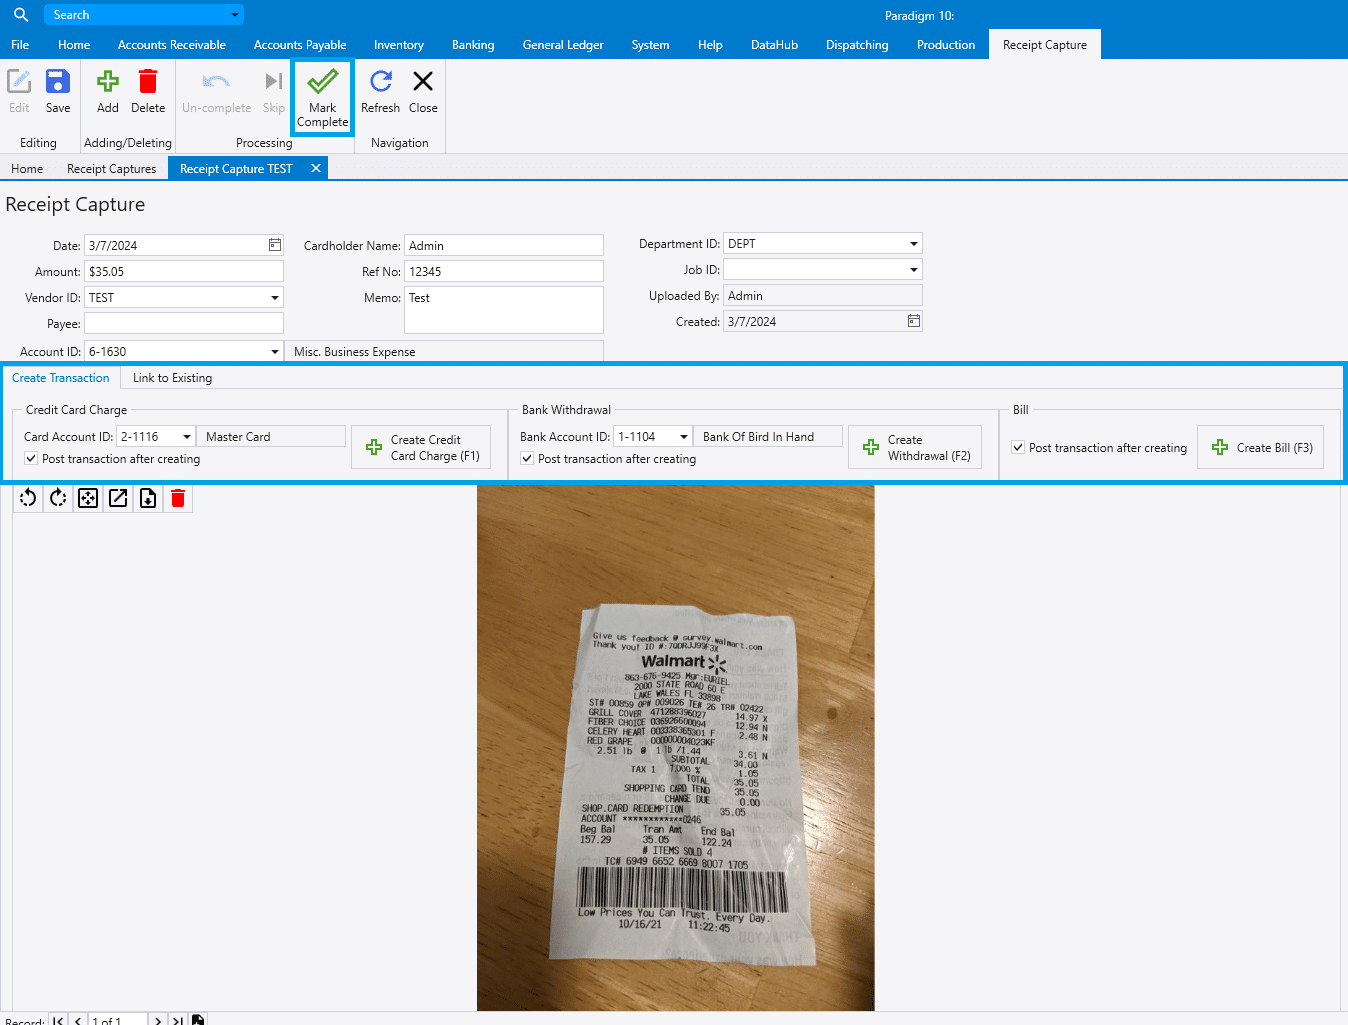
To link to an existing transaction, switch to the “Link to Existing” tab.
From there, select an account ID and then choose the transaction to link it to by click the link button highlighted below.
Import Receipt Captures
Receipt captures can be imported by using the import button on the list. This will look for files at the “Auto Attach” patch.

Advanced OCR
When the OCR process is run on a document, the extracted text is recorded in the Paradigm Log file. If the OCR process correctly extracted the text from the receipt, but the values are not correctly mapped to fields on the receipt capture screen, the text in the log file can be examined and the OcrCode Vendor attribute can be used to setup rules to help map the data for a specific vendor.
The format of the OcrCode attribute value is ParseType_ParseCondition=value

In this example, if an extracted text line is found that Starts With the value 2 and ends with the value B, that line is mapped to “Ref No” field on the receipt. (This particular vendor always starts their Ref Numbers with a 2 and they end with a B, such as 202431B.)
Parse Condition
- StartsWith
- EndsWith
- LengthEqual
- LengthGreaterThan
- LengthLessThan
- LastNumber
- LineNumberEqual
- Contains
- LineNumberGreaterThan
- LineNumberLessThan
- PriorLineEqual
- PriorLineContains
- PriorLineStartsWith
- PriorLineEndsWith
- NextLineEqual
- NextLineContains
- NextLineStartsWith
- NextLineEndsWith
Parse Type
- LineAmount
- LineReceiptDate
- LineVendorName
- LineRefNo
- DocTotal