Statuses And Types
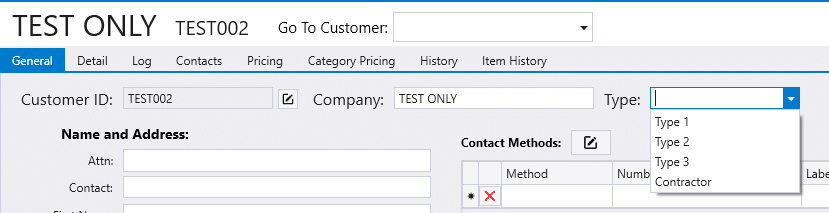
Statues and types are customizable text labels that can be shown on a transaction or customer. Statuses can be used to show other users what is currently going on with a transaction and types can be used to show different types of customers.
Creating Statuses And Types
To create these, go to System > Company Preferences > Statuses and Types.

Then select a type from the dropdown list.
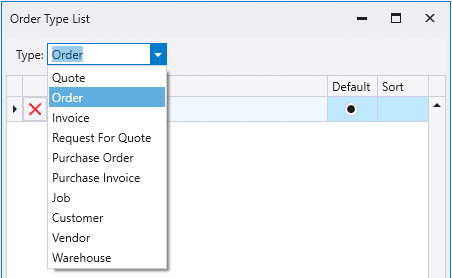
Next enter the custom statuses into the form. Selecting the checkbox in the default column will set that particular status to be the default status that gets applied to a transaction. Types are set up the same way for vendors and customers.
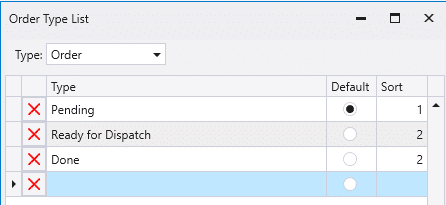
Once the custom statuses and types have been created, close the form to save it.
Status Label
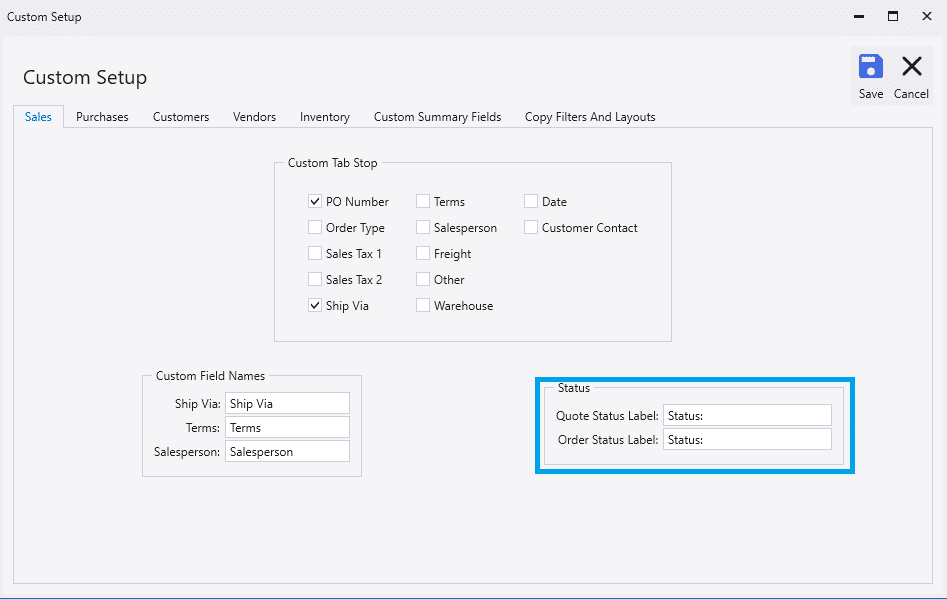
The text in these boxes is what will be displayed beside it on the status tabs. By default, the dropdown is labeled as “Status:”
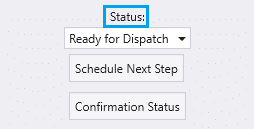
This can be changed by going to System > Company Preferences > Custom Setup > Sales

Applying the Status To A Transaction
Now the statuses can be applied to a transaction by going to the “Status” tab and selecting the status from the drop-down.
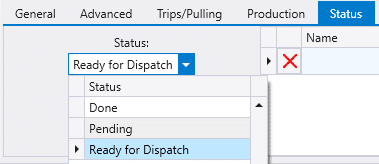
Once the status is set, it will be displayed on the transaction.

Statuses When Converting A Transaction
When a transaction in converted, the status will carry over to the new transaction as long as the status is valid for the new transaction type.
Applying A Type To a Customer or Vendor
To apply a type to a customer or vendor, choose one from the type dropdown.