- Home
- Inventory and Pricing
- Product Finder
Product Finder
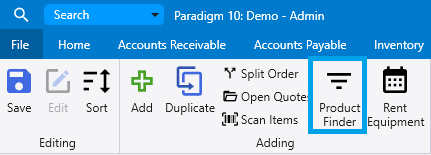
This FAQ will go over how to use the product finder tool in Paradigm.

The product finder tool allows a user to find products based on a group and/or subgroup(s) to which the product is assigned. The groups used here are used in the product finder in Customer Portal as well. It is a useful tool to quickly find a product while creating a transaction, especially for new salespeople.

The user can either search the for product in the search bar, or select a group that it is in.
This will open all the subgroups, where the user can again select a group. This can continue as far as the number of subgroups under the selected parent group.
For example, Screws > (ALL SCREWS) or Screws > Metal to wood > 2.5” > Black
The search bar will search all the products within the selected group and will show the number of products matching the search within the displayed subgroups, as shown below. In this example, the user is searching for all red products, under the group “Panels”

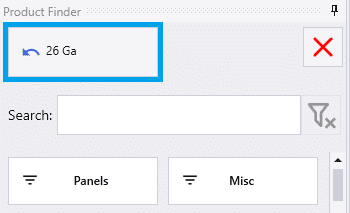
This button will take the user back to the previously selected group:

This will take the user back to the home page of product finder:

After a product has been selected, the product finder will automatically go back to the home page, but if more than one product is needed from the same group, use the return button, and it will go back to the previously selected group or subgroup.

To select multiple products in one group, simply CTRL+Click the product ID (hold the CTRL key while clicking) to stay in the group when selecting an item.
While using product finder in a transaction, the selected product will be added to the transaction, and the cursor will be set to the pieces column allowing the user to immediately type the piece count.

How to Create Groups
The inventory group setup is under Inventory > Inventory Groups. Information on how to import groups can be found here: Inventory Import: Inventory Groups

The group can have any name, and doesn’t have to be a category in your database. Add as many subgroups to the parent group as needed by selecting the folder on the right. This will then display the subgroups of the selected group.

Group Colors
A group color can be assigned. In the example below the color selected is blue. This will cause the lumber group button to be blue in the product finder.


By default, all the colors will be undefined. To select a group color, the color for the option must first be selected. To do this, go to the item and click the gear icon beside “Color”

This will open the “Inventory Color” page, where the display color and text color can be selected.

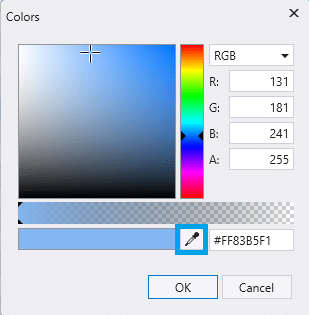
If the “More Colors….” option from the color selected above is clicked, it can be used to find a color that wasn’t on the first screen or the color sampler (highlight below) can be used to select a color. This can be useful if there is a document with all of the trim colors on it, and the sampler can be used to get the same color into Paradigm.

How to Assign Items to Groups
Items can be assigned to groups individually by opening an item, then selecting the “Edit Groups” button. Note that items can be added to multiple groups.

Contact Paragon support for assistance on adding items to groups in large quantities.
Contents
Categories
- Purchase Order and Vendors (19)
- Production (34)
- Order Entry and Customers (75)
- NEW! (6)
- Job Costing (16)
- Inventory and Pricing (92)
- General (54)
- Fulfillment Pro (29)
- Dispatching (23)
- Administration and Setup (39)
- Add-Ons and Integrations (29)
- Accounting (51)
