Return a Customer Credit Balance
This FAQ will go over how to return a customer credit balance.
Customer credit balances can come from unused prepayments, overpayments, and credit memos. Sometimes, you may want to pay that money to the customer via a check, cash, or credit card and then mark the credit balance as having been used.
Returning a Customer Credit Balance by a Check
(1) Create a Check for The Customer
- Go to Banking > Checks and then click the green plus button.

- Enter the amount of the credit to refund, as well as selecting the payee type of “Customer” and selecting the customer ID.
- Select the Accounts Receivable code in the detail section of the check.
- Select the customer ID in the Name column for the Accounts Receivable line in the check detail.
- Type the amount of the refund again or double click the amount to copy it from the check header.
- Post the check
- This creates an invoice for the customer which brings the customer balance in this case to zero. At this point, the invoice is still unpaid and the prepayment is still not applied. That will be taken care of in the next step.
(2) Create a Receivable for the Customer and Apply the Balance of the Prepayment to the Unpaid Invoice
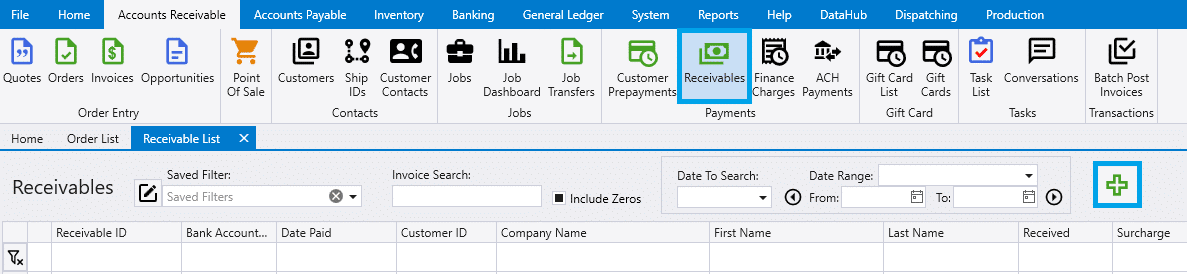
- Go to Accounts Receivable > Receivables and click the green plus button.
- Double click in the Payment area of the detail section to automatically fill in the remaining amounts or type them in by hand on the line for the customer credit as well as the invoice created in step one. The total payment received should now total to 0.
- Post the Receivable.
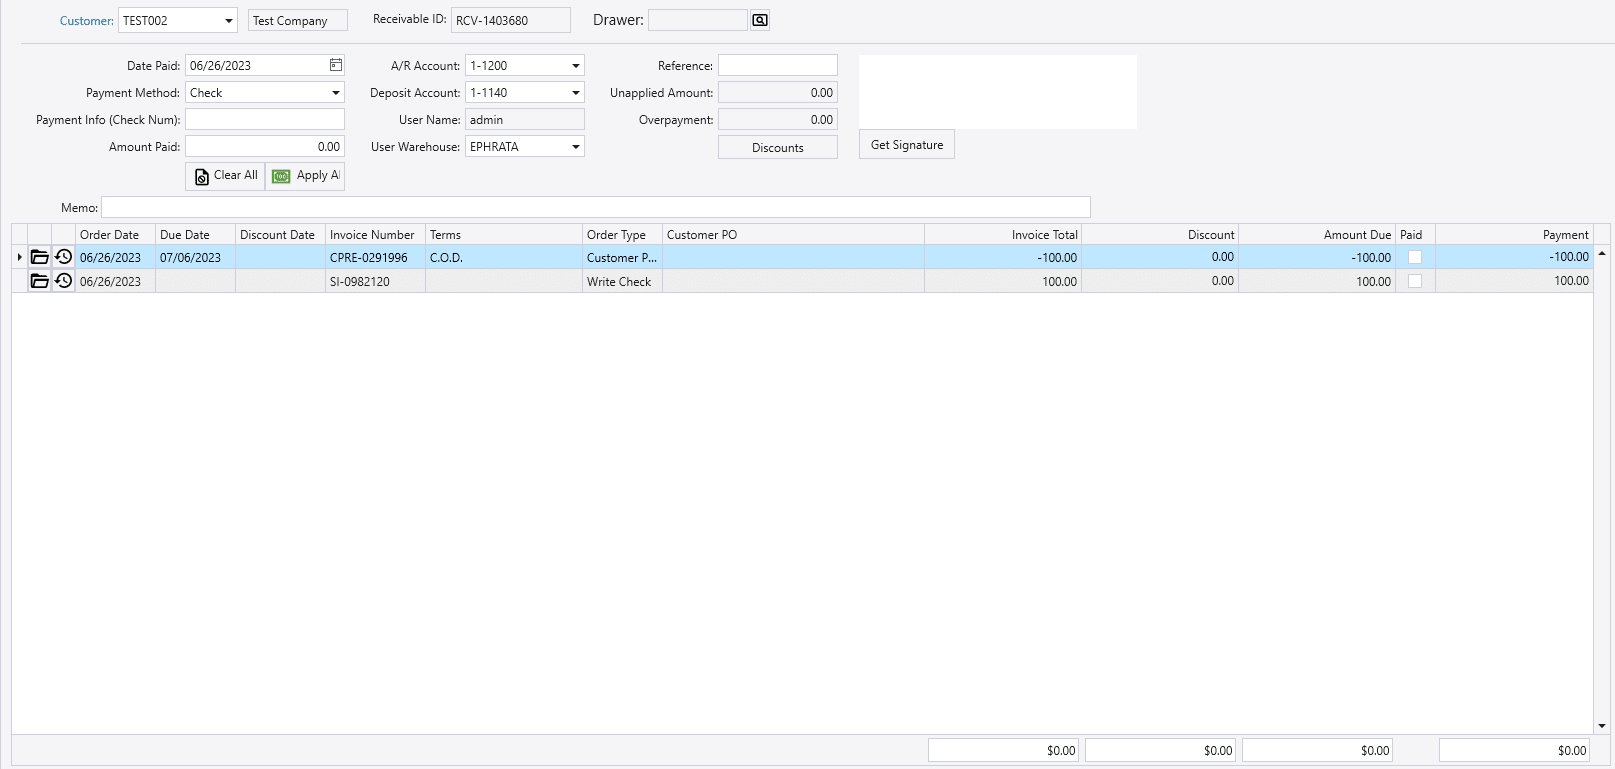
- The customer credit has now been removed from their account, and you have a check that can be printed off and given to them.
Returning a Customer Credit Balance by Cash or Credit Card
(1) Create A Receivable
This section will go over how to issue a credit back on a card or by cash.
- Go to Accounts Receivable > Receivables and click the green plus button.
- Enter the amount of the credit to refund as a negative, select the payment method, and select the customer ID.

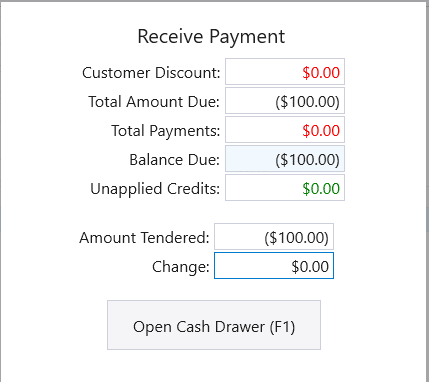
- Select the ‘Receive Payment‘ button and return the payment. The amount will automatically turn into a negative when typed in for cash or sent to the credit card machine.