How to Mark Items as Taxable and Nontaxable
This FAQ will go over how to mark items as taxable, nontaxable, and how to handle some special cases.
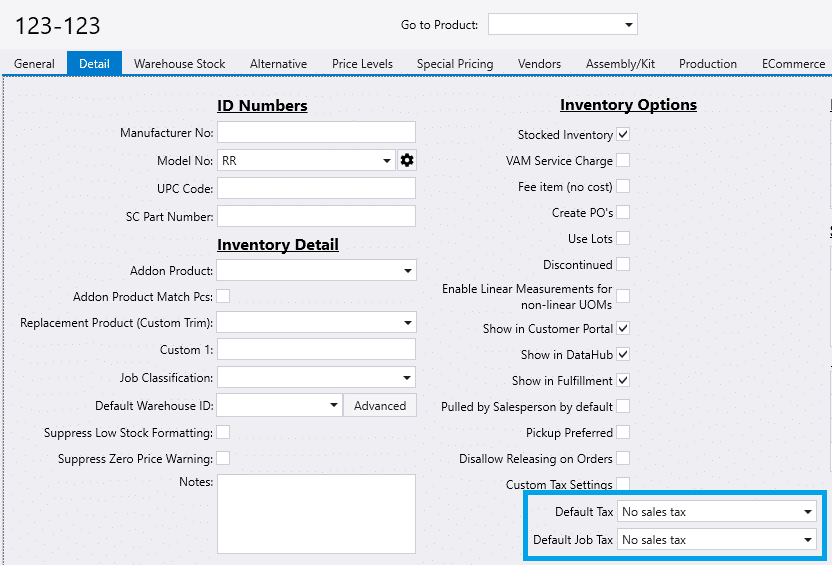
Marking an Item As Nontaxable
To mark an item as nontaxable, go to the item’s detail tab, and set the Default Tax and Default Job Tax to “No sales tax” from the dropdown. For most clients, this is all that need to be done to mark an item as nontaxable. The following section will go over how to set up an item to handle some special cases.
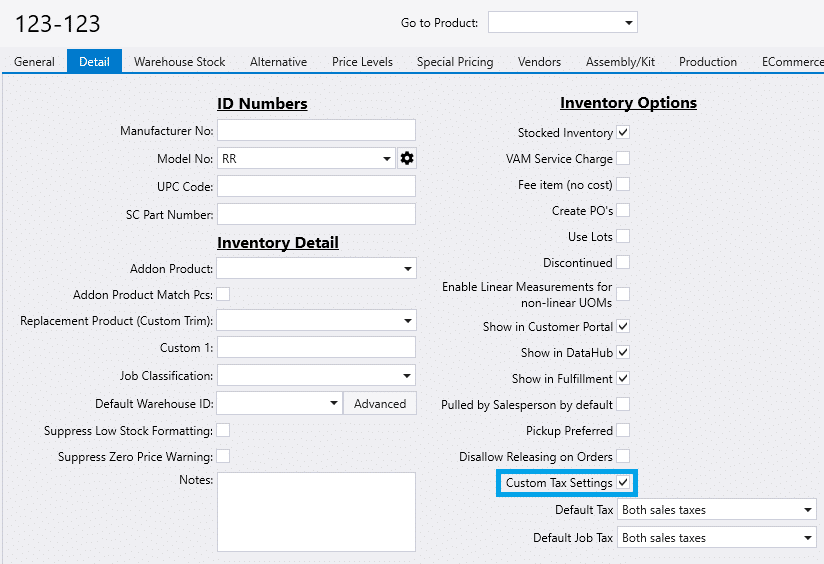
Custom Tax Settings
Custom tax settings can be enabled on an item’s detail tab. These tax settings are commonly used when a items are taxable in one state and not another.
This will display the inventory tax settings window.
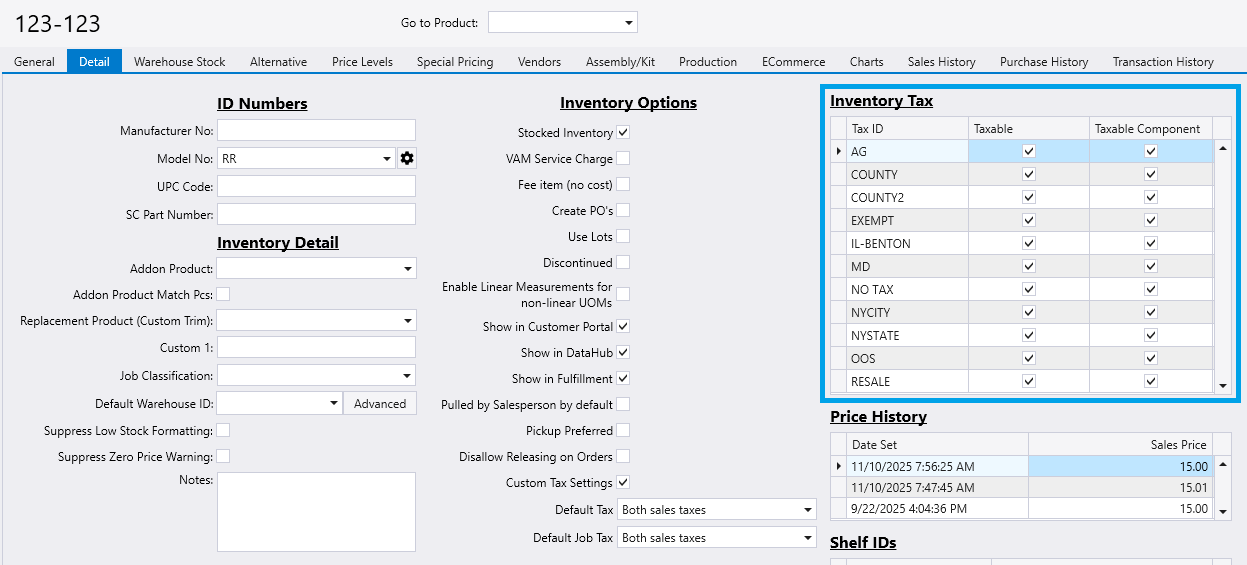
Use custom tax settings to mark an individual item as taxable or non-taxable. The settings here will override the default tax settings.
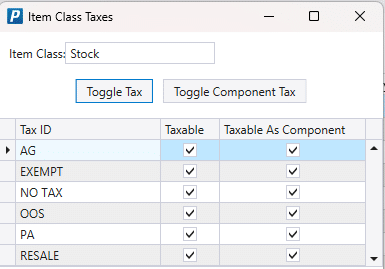
Item Class Tax Settings
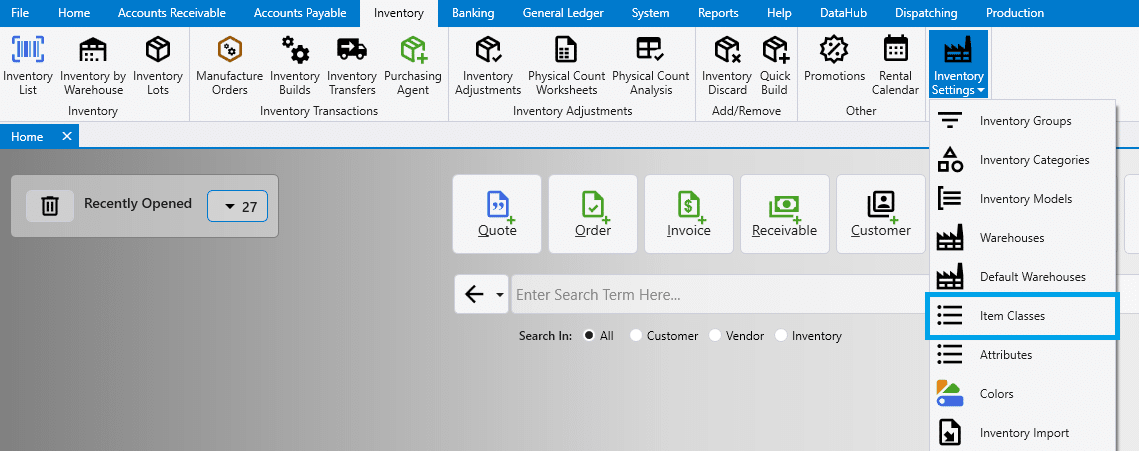
Custom tax settings can be mass applied by setting up tax codes per item class. This can be done by first going to Inventory > Inventory Settings > Item Classes.
Click the folder icon beside the item class.
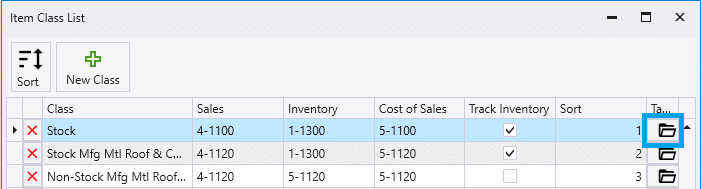
Then the tax settings can be customized for that item class.