Installing Topaz Signature Pad
This FAQ will go over how to install and use a Topaz signature pad. Currently the Topaz T-LBK462 series signature pad is supported, more info on that can be found here: T-LBK462. If the signature pad is being used on an RDC, it must be a BSB model. More info about software, hardware, and FAQs can be found on Topaz’s website: Topaz Systems Inc.
Installing a Signature Pad on a Local Workstation
- To start, the signature pad must be disconnected from the computer.
- Click this link and select the model number that matches the one on the back of the signature pad: Topaz SigPlus Software
- Follow the download steps and run the installer.
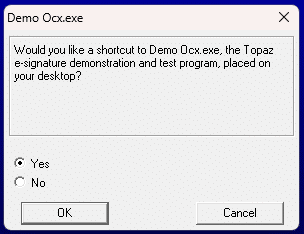
- During the install, select yes when it asks if the DemoOCX shortcut is needed.
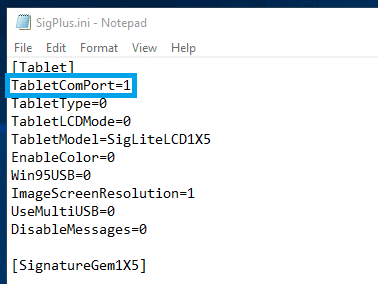
- When the install finishes, open the configuration file (C:\Windows\SigPlus\SigPlus.ini), and update TabletComPort to “1” and save.
- Then plug in the signature pad and open the device manager.
- If “bsb” is not in the model number – There should be a section for Ports. If not click “Action” at the top and select “Add Legacy Hardware” to add a new port. Set the new port to COM1.

- If “bsb” is in the model number – The signature pad should now show up as “USB Serial Port (COM9)”.
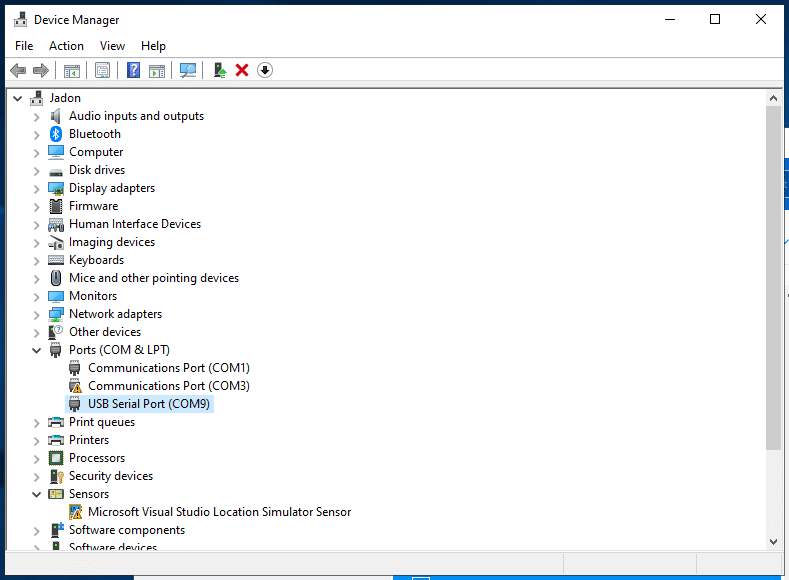
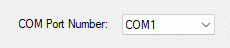
- Then right-click on it, select Properties > Port Settings > Advanced. Then set the COM Port Number to “COM1”
- If another device is already on COM1, just switch the other device to another unused port.
- Open DemoOCX on your desktop and click Start. Anything drawn on the signature pad should show up.
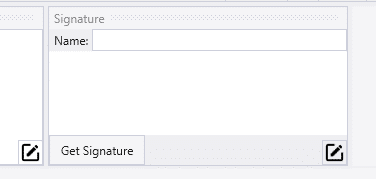
- Test in Paradigm as well then. This can easily be done by going to Accounts Receivable > Point of Sale and start a new sale. Then at the bottom select the Get Signature button and see if the signature appears.
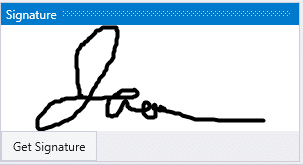
- When collecting a customers signature, the name of the person signing can be typed in as well, since signatures can be difficult to read.
Installing a Signature Pad on a RDC Machine
To use a signature pad on an RDC machine, it must be a bsb signature pad.
- Right click on the link for the Remote desktop connection. Click Edit.
- In Local Resources, choose more and then choose to forward ports for that connection. If the user is currently logged into the RDP machine, you will need to sign out and then sign back in for this to take effect.
- If this is the first time setting up a signature pad for the RDP machine, install the Sigplus.exe using install mode.
- Log into the server using an RDC as Administrator or an equivalent account.
- Download and save SigPlus to your server: Topaz SigPlus Software
- From a CMD line, type “Change user /install” to enter “Install mode”. Install “SigPlus.exe”. Choose the tablet model during install and the COM1 connection type. After installing, from CMD line, type “Change user /execute” or restart server to place server back into “Execute mode” before using the application.
- Copy the “SigPlus.ini” from C:\Windows on the server and place it into the root of C:\ on the server. Then rename it to “SigPlusRoot.ini”. Double-click this new “SigPlusRoot.ini” file to open it, as seen here.
- Change TabletComPort to “1” and save it.

- Open DemoOCX on the RDP and test to see if you can capture signatures.
More info on signature pads on an RDC machine can be found here: Topaz RDC Info