- Home
- Job Costing
- Job Completion And Billing
Job Completion And Billing
This FAQ will go over the steps for completing a job.
Job Dashboard
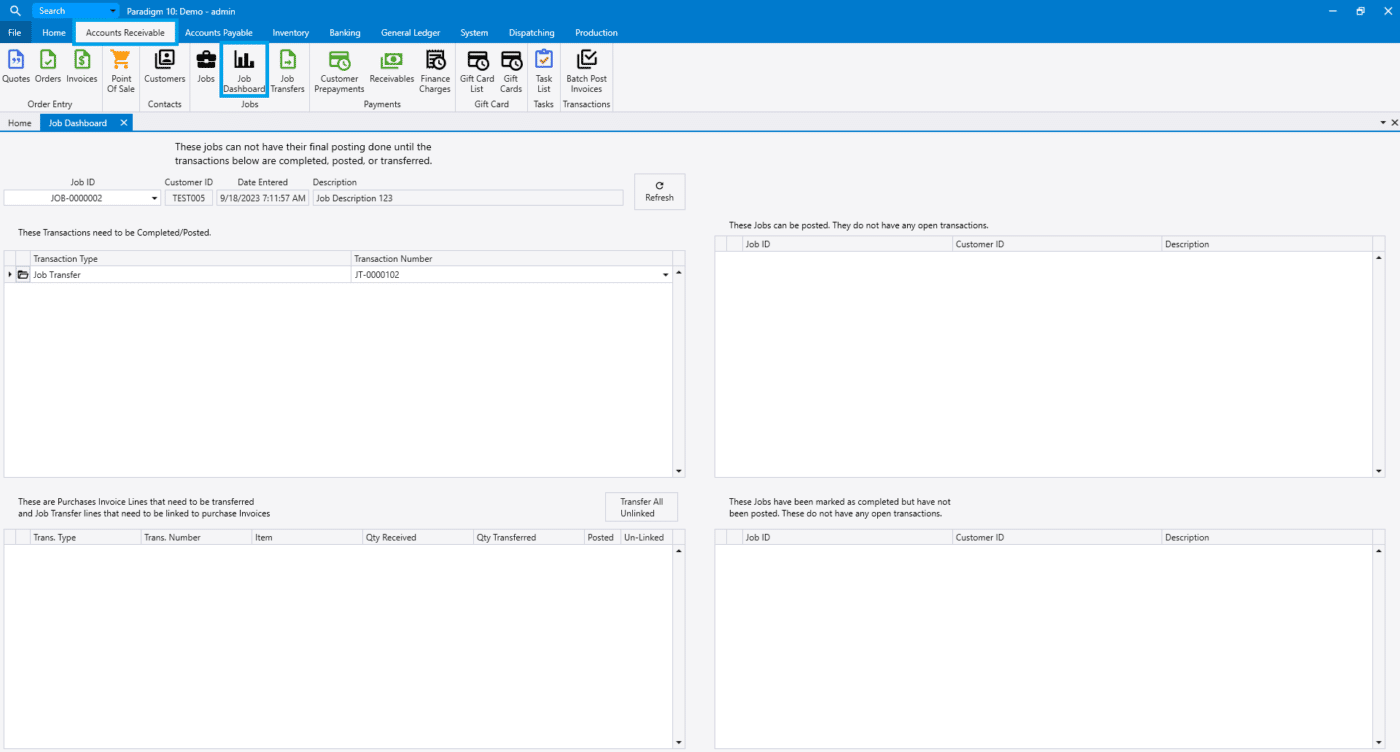
To start, go to the job’s dashboard by going to Accounts Receivable > Job Dashboard and entering the job ID. This will display a list of transactions that need to be completed or posted prior to the job being posted.

Once all of the open transactions are completed or posted, the job will then appear on the right side of the screen in the list for jobs that can be posted and completed.

Billing
Go to the job and click the “Final Billing” button.

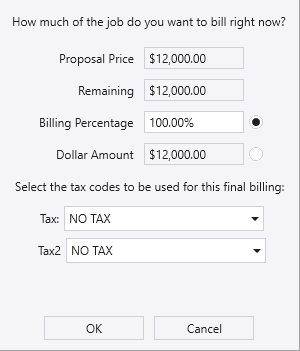
Then choose how much is being billed and the tax code to apply.

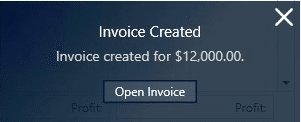
A pop up will then appear with the amount that was billed.

Click “Open Invoice” and then post the invoice to apply it to the customer’s account.

Posting
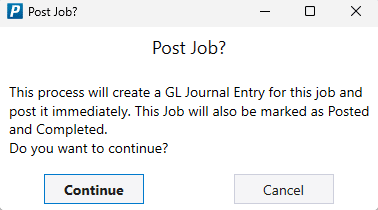
Go to the job and select the “Post” button from the header.

Then click “Continue”

A pop up will then appear will the following message: Success – Journal created successfully!


Job posting takes the cost out of the WIP account for that job and posts it to the cost accounts designated on the job classes that were selected for each line transferred to the job. It also posts any use tax for those products along with the journal entry. Ideally the final billing and job posting are done in the same period so that the sales and cost hit simultaneously to keep the profit and loss report accurate.
Contents
Categories
- Purchase Order and Vendors (19)
- Production (34)
- Order Entry and Customers (75)
- NEW! (6)
- Job Costing (16)
- Inventory and Pricing (92)
- General (54)
- Fulfillment Pro (29)
- Dispatching (23)
- Administration and Setup (39)
- Add-Ons and Integrations (29)
- Accounting (51)
