- Home
- Job Costing
- Reassign Purchases to a Different Job
Reassign Purchases to a Different Job
This FAQ will go over how to use the “Reassign to Job” button. This is used to take items that were purchased for one job and reassign them to another job or no job.
Purchase Invoice Header
Start by clicking the “Reassign to Job” button in the header on the purchase invoice.

Choose a job from the purchase invoice, and then the job to reassign it to.
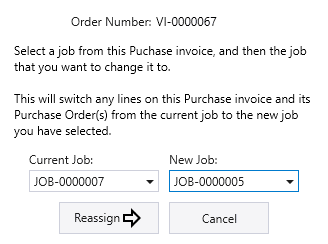
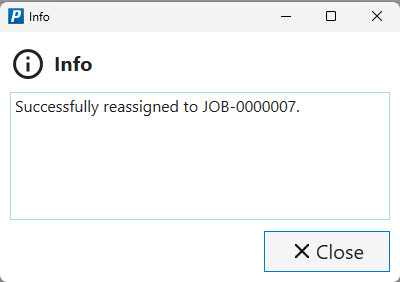
Then click “Reassign” and a pop up will then appear, saying that the reassignment was successful.
Line Item Options
This can also be done from the line items option, by clicking the folder icon beside the ID and then clicking “Move From Job”.


Then choose the quantity to be transferred and the job, phase, and job class.

Then select “Move Off Job” and new transactions for that item will be created.
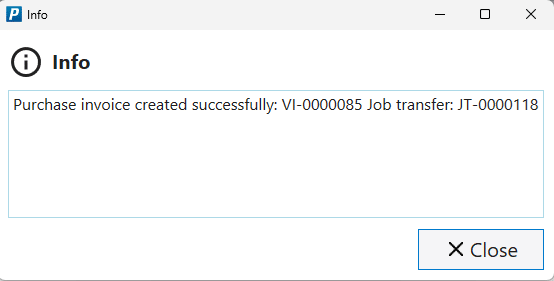
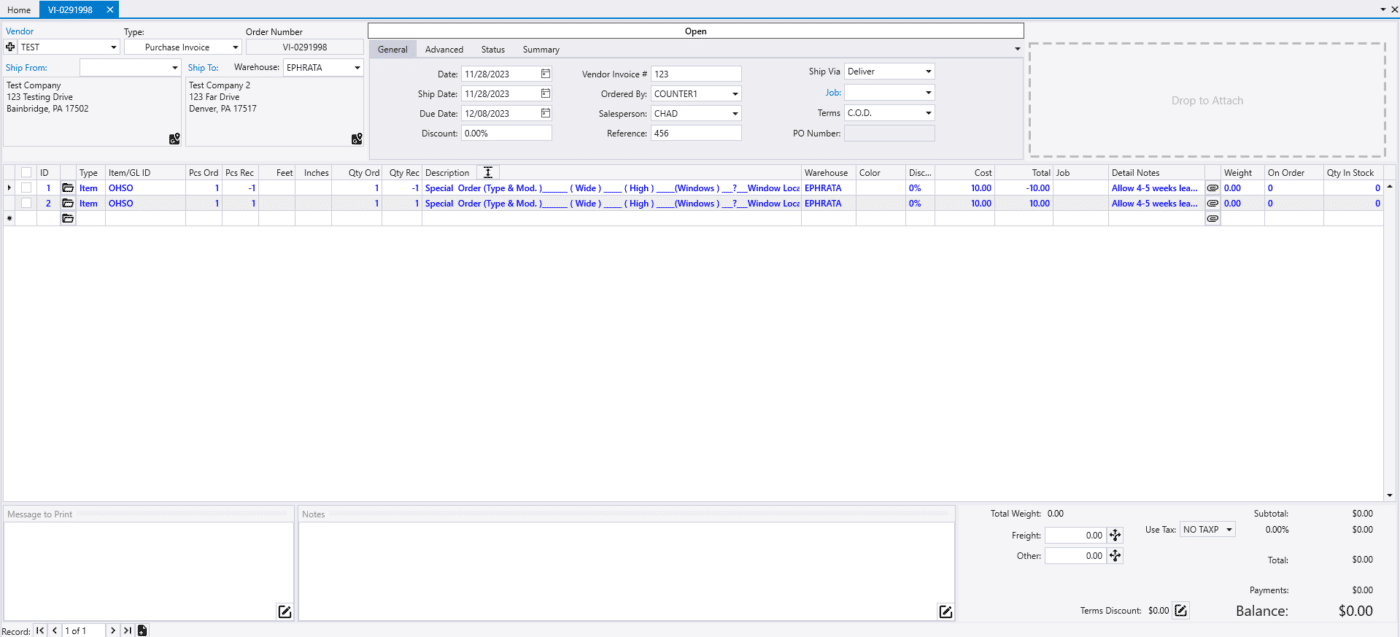
Below is the purchase invoice that was created, with a negative line from the original job and a positive line to the new job.

Job Transfers
Items can also be moved from the job transfers form from a purchase invoice. On the form, click the “Move” button beside the item that is to be moved.

Then select the pieces to be moved, new job, job phase, and a job class.

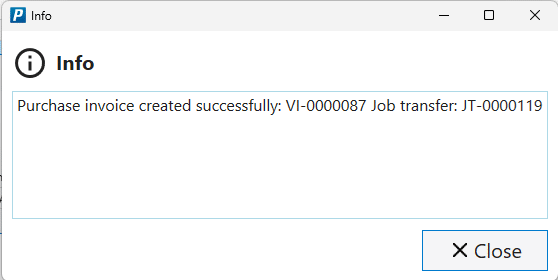
Then select “Move Off Job” and then the pop up will say it was successful.
Reassigning Vouchers That Were Not Linked to A Job
Unpaid
If the voucher has not been paid yet: Unpost > Assign the Job > Post.
Paid
If the voucher has been paid, manually create a new voucher that has a negative line for that product/cost with no job assigned to it, and a positive line assigned to the job (net $0). This will effectively pull the cost out of “no job” and into the correct job.
Contents
Categories
- Purchase Order and Vendors (19)
- Production (34)
- Order Entry and Customers (75)
- NEW! (6)
- Job Costing (16)
- Inventory and Pricing (92)
- General (54)
- Fulfillment Pro (29)
- Dispatching (23)
- Administration and Setup (39)
- Add-Ons and Integrations (29)
- Accounting (51)
