Data Utilities: Update And Delete
This FAQ will go over how to merge, rename, or batch delete items, vendors, and customers. It will also go over how to setup an excel file to do a batch import.
!! Be aware that once something is merged, there is no way to revert it. !!
Merging Items/Vendors/Customers
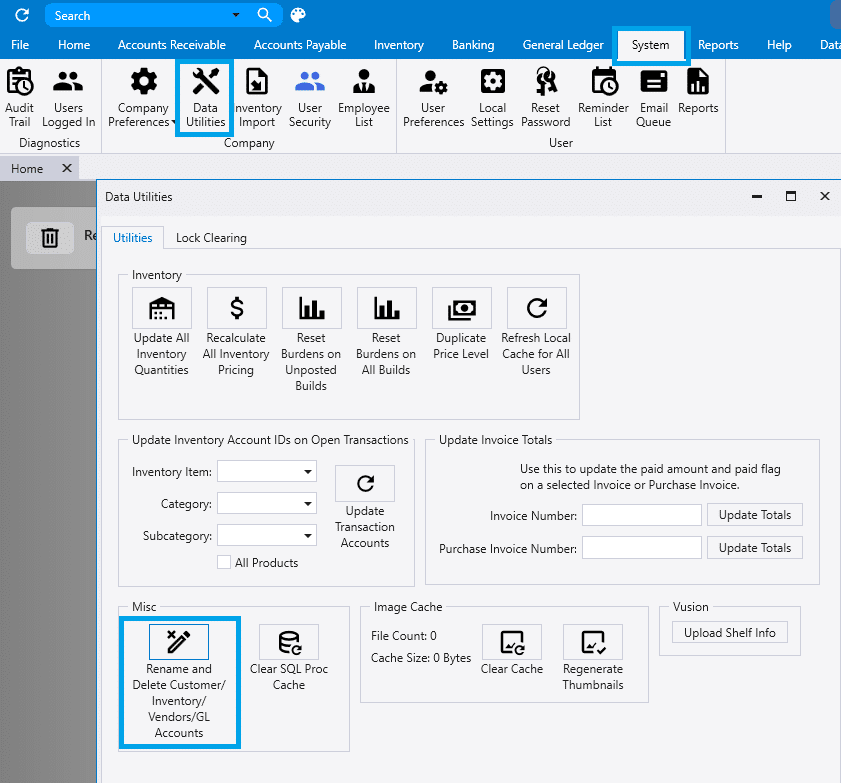
To merge an item, vendor, customer, or G/L account, go to System > Data Utilities > Misc > Rename and Delete. In this example it will be customer accounts merging. The delete permission for items, vendors, or customers is needed to use this feature.
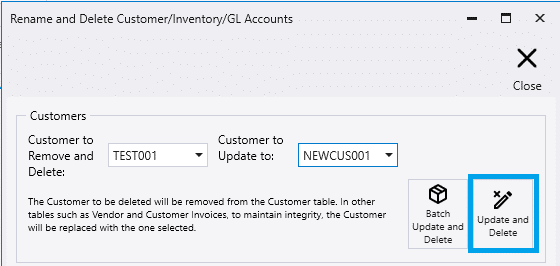
- Select the customer to remove and the account to merge it into, then click update and delete.
- When a customer or vendor is merged, the contact methods will be kept from the old account and added to the new account.
Merging G/L Accounts
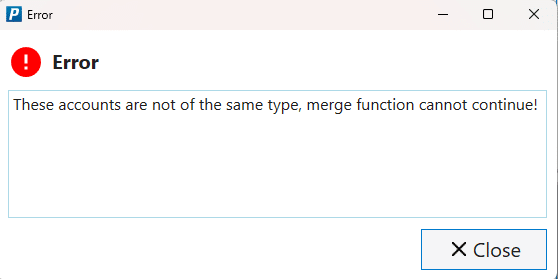
When merging G/L accounts, they must be the same type. If they aren’t, the merge will not work and this error will appear:
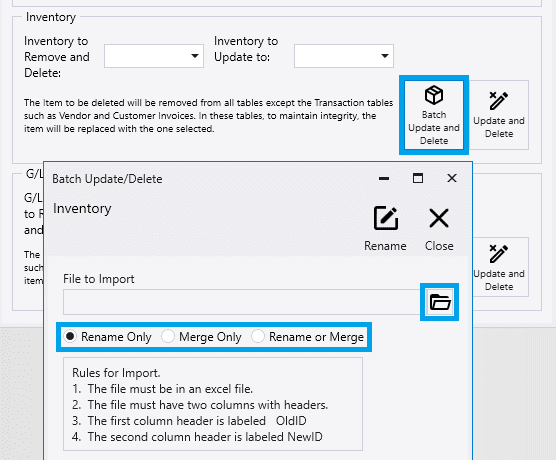
Batch Update and Delete
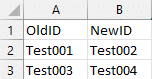
In order to create a batch update, an excel file needs to be creating in the correct format listed in Paradigm. This is only available for customers and inventory info. All that is required is the old ID and the new ID to merge it into, like the example below. The rules for import are as follows:
- The file must be in an excel file.
- The file must have two columns with headers.
- The first column header is labeled OldID
- The second column header is labeled NewID
- Once that has been created, click on the “Batch Update and Delete” button by either customer or inventory, depending on what is being updated.
- Then select the file button to upload and choose whether to rename only, merge only, or both.
Deleting Products
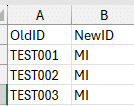
Batch update be used to delete multiple inventory items at once.
- Enter the IDs of the products getting deleted in the “OldID” column and fill down the “MI” product (or any other product ID of your choosing) in the “NewID” column.
- Select the file to import and select “Merge Only”.
- This will merge the products and set the old product ID as an alias on the new product.
Changing Product IDs
Another use for this is when a batch of items need new product IDs.
- Enter the current ID in the “OldID” column and the new one in the “NewID” column.
- Select the file and choose “Rename Only” before importing.